Login to your Oracle Cloud account. Before we can provision our first database on the cloud, it is a good idea to create a compartment. We will discuss about compartments in details later.
Under “Governance and Administration”, click on Identity > Compartments.
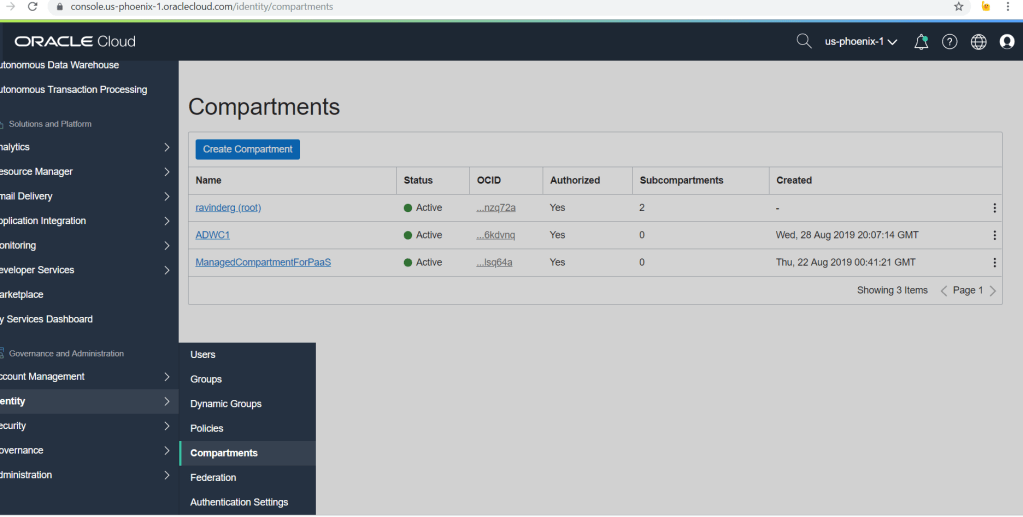
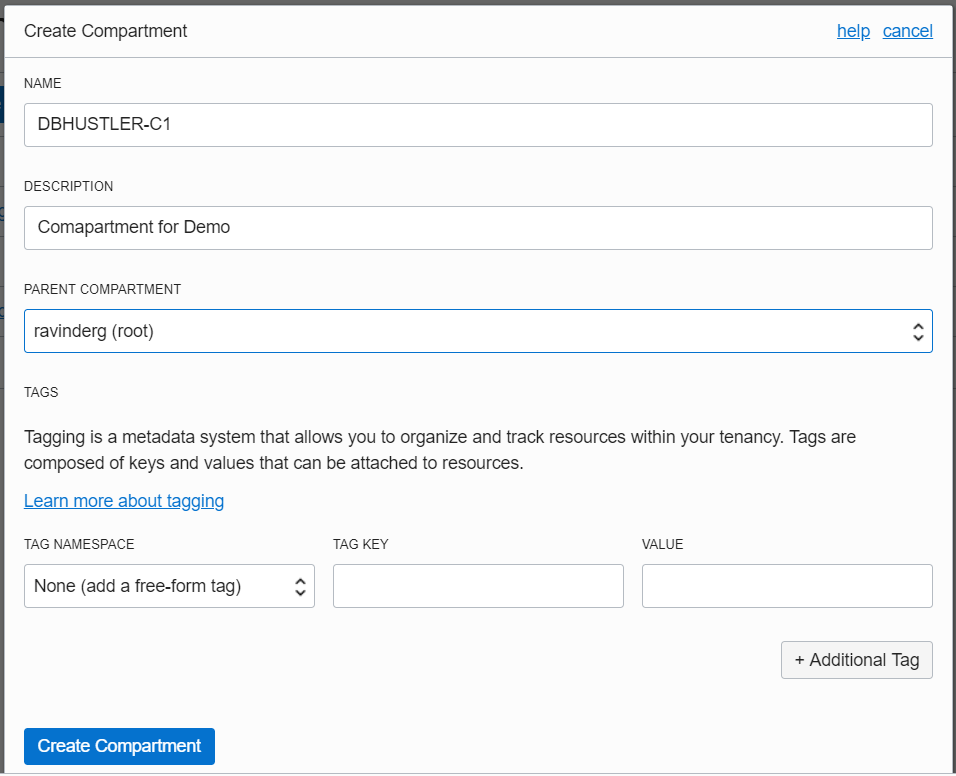
Click Create Compartment. Specify appropriate values and click on “Create Compartment” button to create the compartment.
Next, Click on the left sidebar to locate options for creating Autonomous Databases.
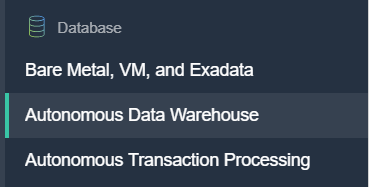
You can either chose Autonomous Data Warehouse or Autonomous Transaction Processing. For this demonstration, i am going to chose Autonomous Data Warehouse.
This further presents you with three options to chose from:
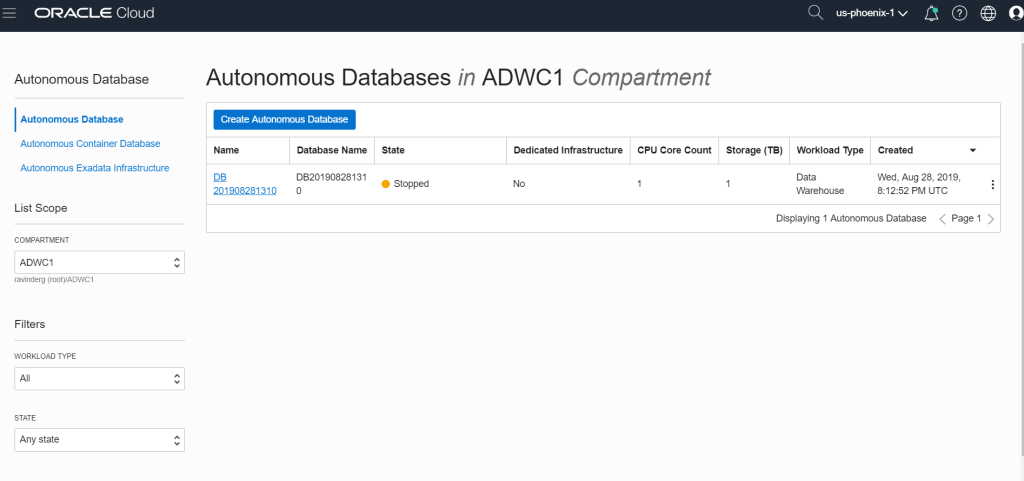
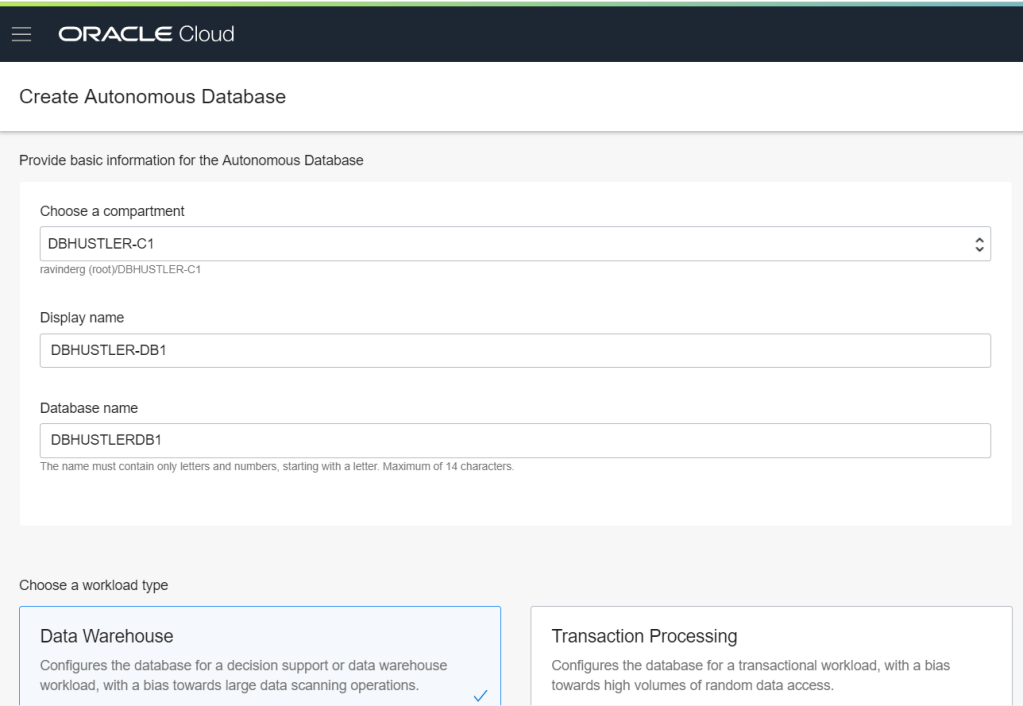
I chose “Autonomous Database” and clicked on “Create Autonomous Database” button. Select the compartment you created in previous step and specify database name.
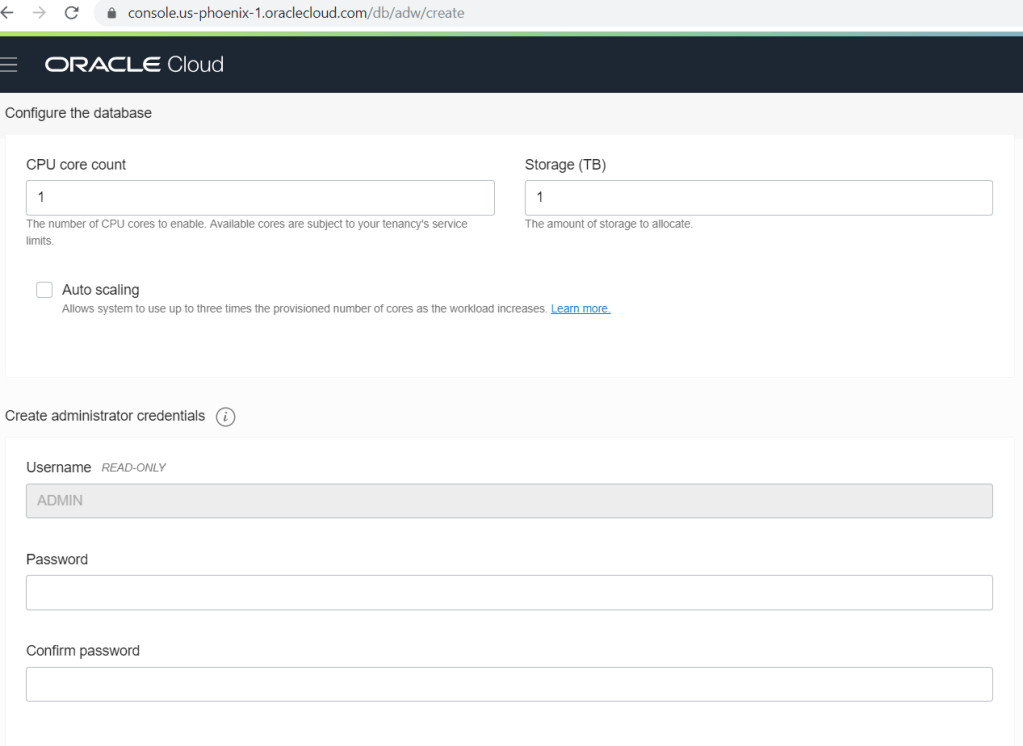
Specify CPU/Storage for the database and admin password.
I am going to select “Bring Your Own License” for this demo. Don’t want to buy one for now 🙂
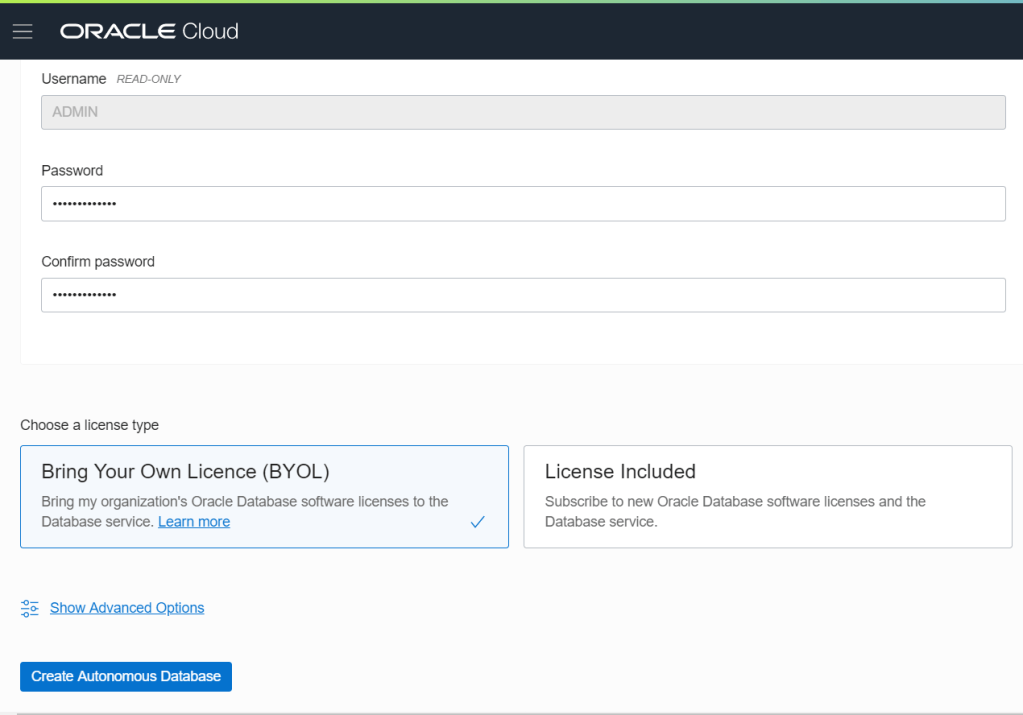
Click “Create Autonomous Database” button.
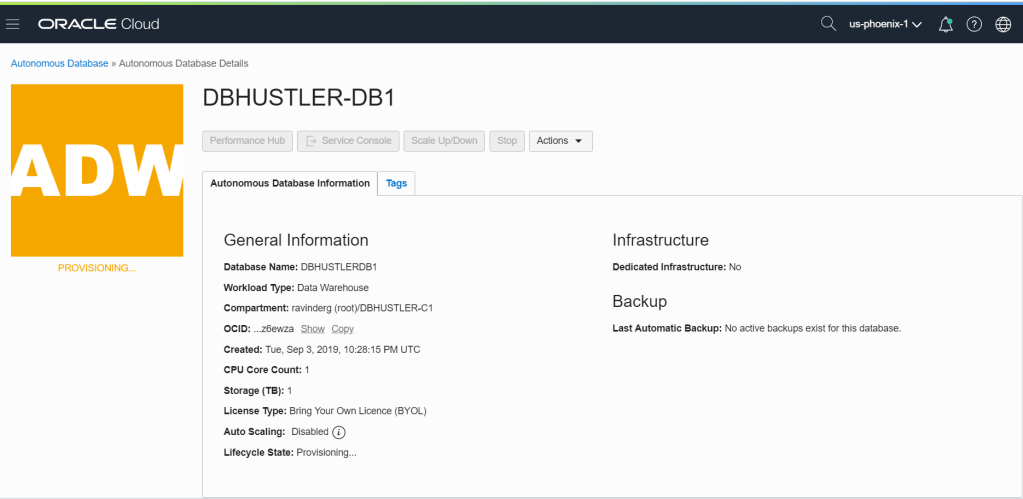
Please note the “Lifecycle State: Provisioning..”. This means your database is being provisioned. It usually takes a couple minutes to complete. The color of the icon will change from yellow to green when provisioning is complete.
Your database is ready for use.
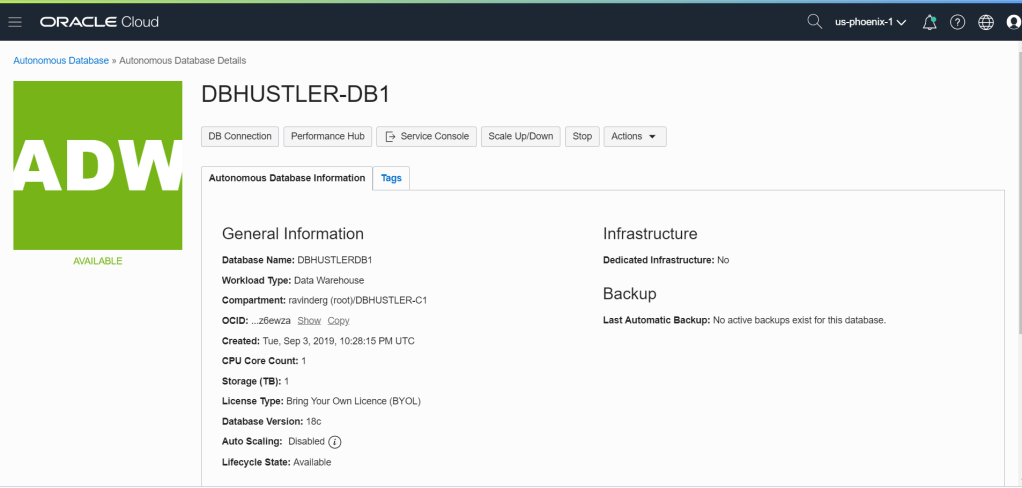
Please note the options on the page to monitor and administer your database.

Click on DB Connection to view details.
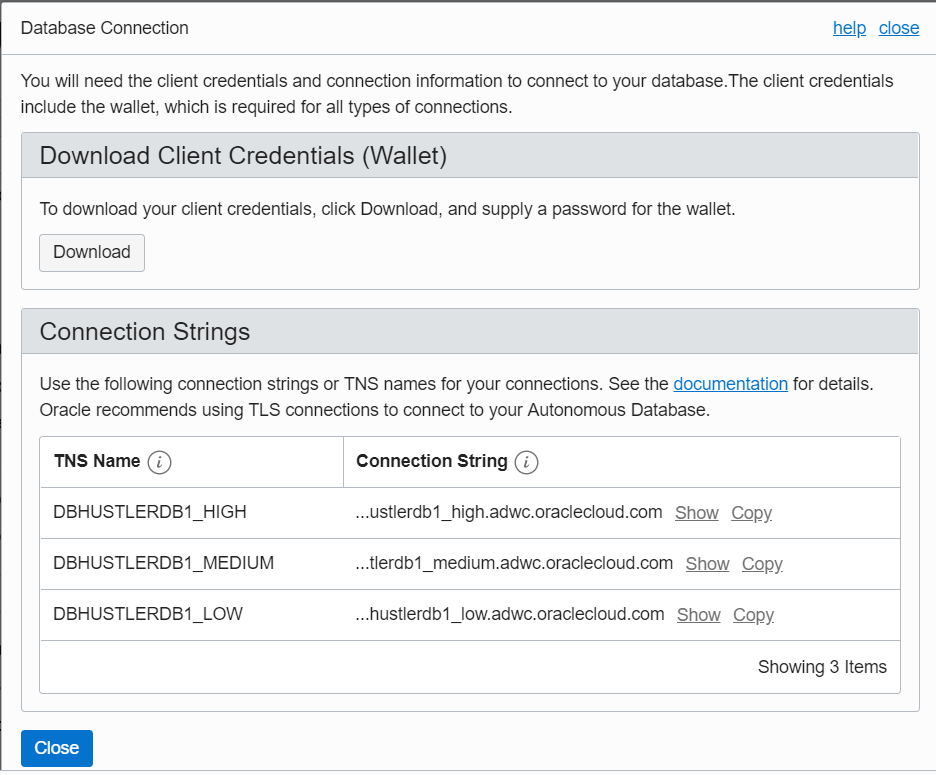
To be able to connect from a local machine using a client like SQL Developer, you will need to download the wallet using download button.
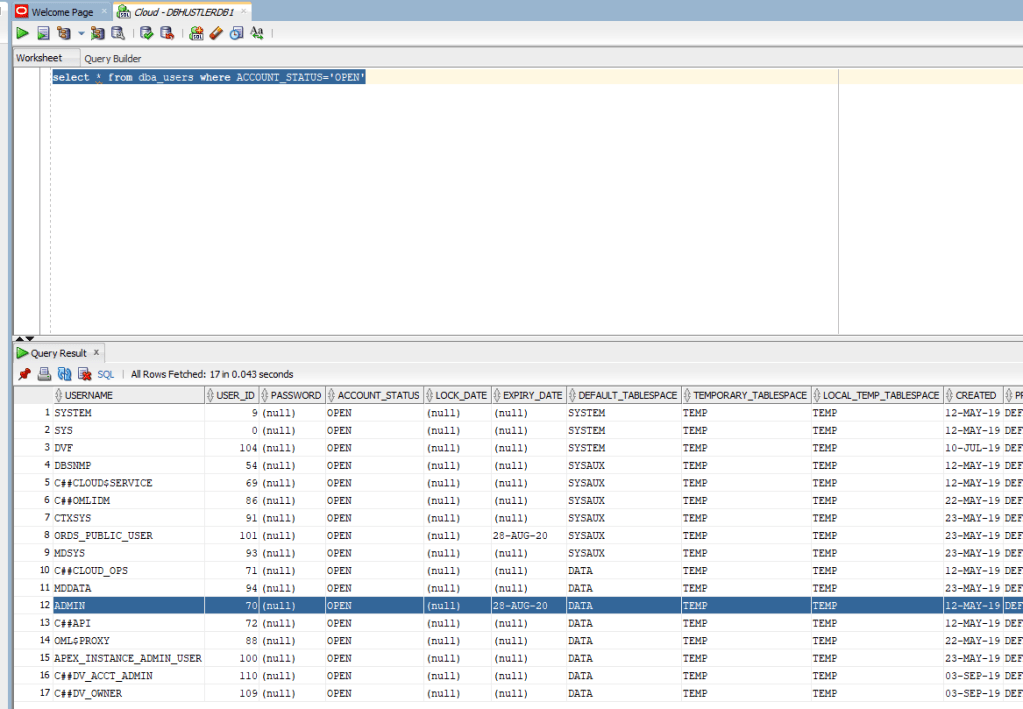
Launch SQL Developer and select connection type as “Cloud Wallet”.
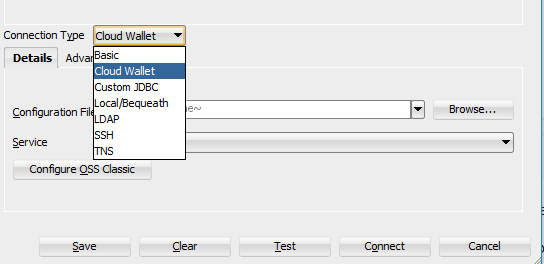
Specify appropriate information as shown on image below:

Click “Connect”, to connect to your cloud database instance.