
SQL Server Data Tools is a modern development tool for building SQL Server relational databases, Azure SQL databases, Analysis Services (AS) data models, Integration Services (IS) packages, and Reporting Services (RS) reports. With SSDT, you can design and deploy any SQL Server content type with the same ease as you would develop an application in Visual Studio.
The installation steps in this post assumes that you have already installed SQL Server 2017 following the instructions in previous post.
Launch SQL Server Installation Center
Navigate to C:\SQLServer2017Media\Developer_ENU and launch SETUP.exe
Click on “Install SQL Server Data Tools”

Please Note:
With Visual Studio 2019, the required functionality to enable Analysis Services, Integration Services, and Reporting Services projects has moved into the respective Visual Studio extensions. The core SSDT functionality to create Database Projects has remained integral to Visual Studio (you need to select the Data storage and processing workload during install). There is no more standalone SSDT installation required.
If you already have a license to Visual Studio 2019:
For SQL Database Projects, install the Data storage and Processing workload for Visual Studio
For Analysis Services, Integration Services or Reporting Services projects, install the appropriate extension(s) from the marketplace
Starting with Visual Studio 2017, the functionality of creating Database Projects has been integrated into the Visual Studio installation. There is no need to install the SSDT standalone installer for the core SSDT experience. To create Integration Services/Analysis Services/Reporting Services projects you still need the SSDT standalone installer.
For Database Projects, install the Data Storage and Processing workload for Visual Studio
For Analysis Services, Integration Services or Reporting Services projects, download and install SQL Server Data Tools
You can use either Visual Studio 2017 or 2019 based on notes above. For this demonstration, i will use Visual Studio 2019.
Download Visual Studio 2019

Since, this post is for learning purpose, we will install Community edition of Visual Studio 2019.
After the installer is installed, you can use it to customize your installation by selecting the feature sets—or workloads—that you want.
Under workloads, select “Data Storage and Processing”.

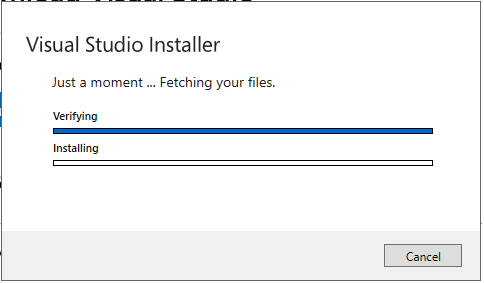
Click Install. This will take some good time to finish.


